My version utilizes gold tissue for the flower, and a cherub print tissue for the background along with distress Rock Candy Stickles and frayed burlap distress inking. I used a vintage button and tinsel, a piece of paper lace, silver embossed a snowflake chipboard element, and stamped and embossed the wings and crown...
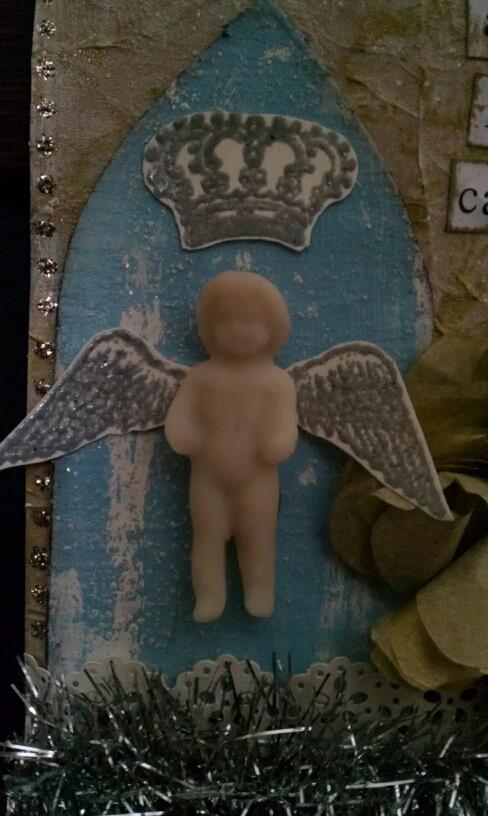
Perhaps the coolest part is I made my own frozen Charlotte doll to use on the tag. I have a real doll that I want to save for another project so I created a mold out of it using Amazing Mold Putty, and then made the duplicate out of translucent Sculpey clay and baked it according to package directions.
Once all the elements were hot glued or stapled into place, I printed, inked and glued on the "all is calm" phrase and added the dot border of Patina Stickles. This is one of my favorite, if not my favorite tag. I love the elegance and charm.

Close up of my handmade Frozen Charlotte doll.


 On Sunday, December 18th, 2011 Jeff and I took the train from Albany to Penn Station to spend the day in NYC. We saw the Rockettes, had lunch at TGIFridays, wandered and shopped, and then made our way back to Rockefeller Center when it got dark to see the Christmas tree. We settled on a bench across the street to look up at the twinkling lights and just enjoy the moment of being there together right before the holidays. It was here that he slid off the bench and down on one knee to ask me to marry him--and of course I said YES! To read the full details of our engagement day story, visit my new blog, which will chronicle my wedding planning adventure .